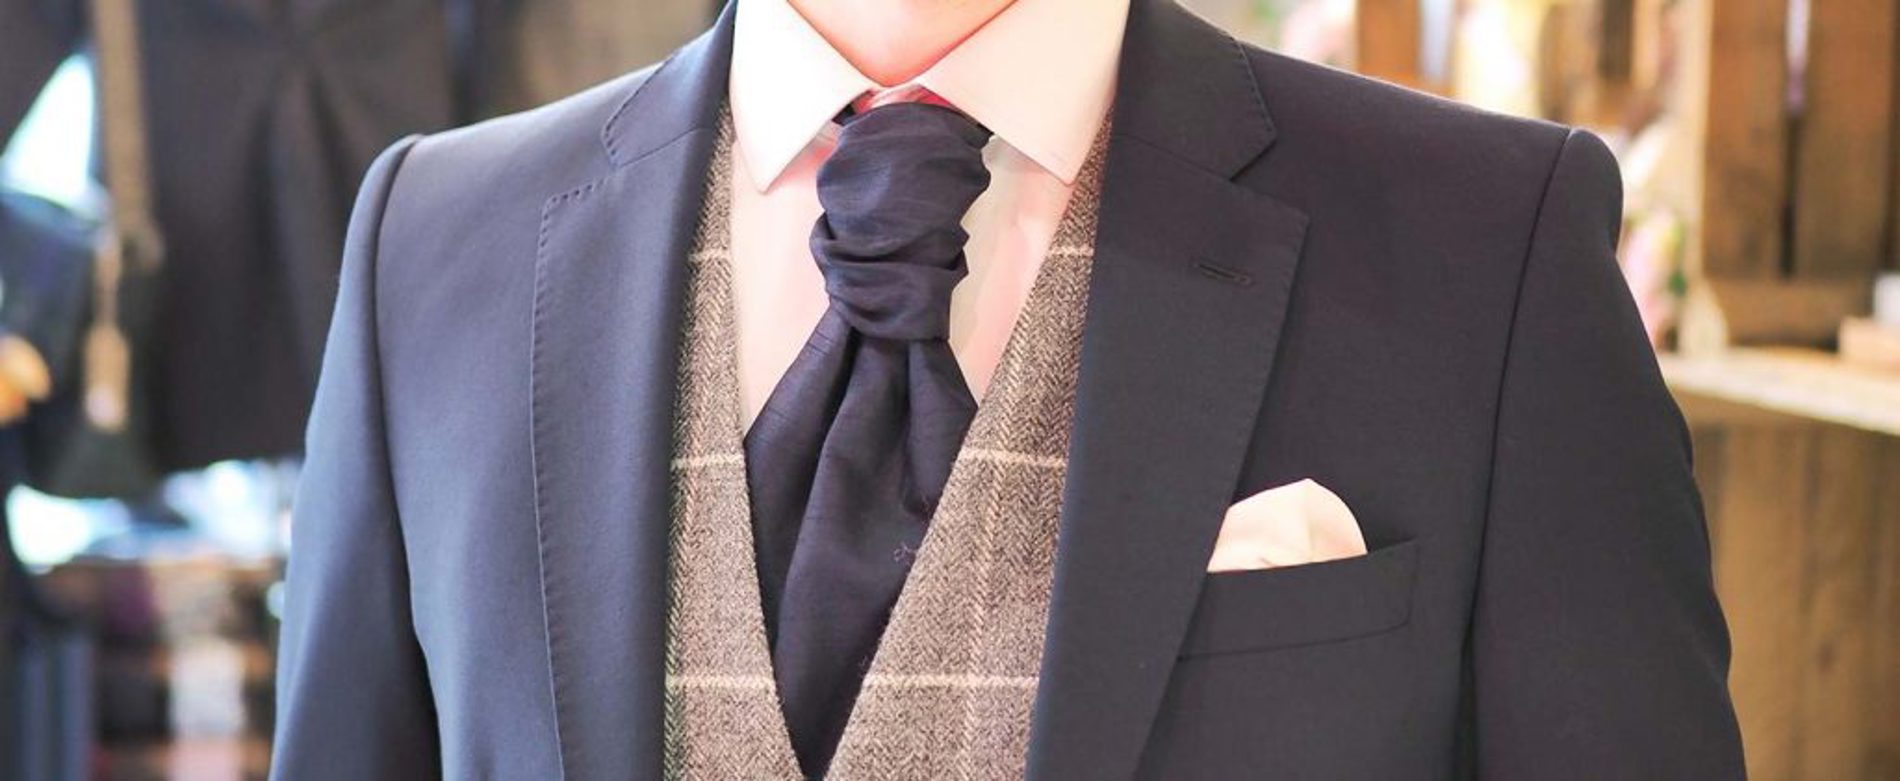
10 Step Guide to Tying a Wedding Scrunchie Cravat
| March 28 2025Cravats. They’ve long been associated with traditional neckwear for grooms.
Here's a 10-point guide to tying a wedding scrunchie cravat. (These instructions are written as though you are tying the cravat yourself.)
- Turn the collar of your shirt up. Place the cravat around the back of your neck. Make sure that the slim side is to the right, the wide side to the left.
- Take the wide side and carry it over the slim side.
- Begin by placing your thumb where the 'wide side' starts to widen. Keep it secure, but don't press too hard - we want to create a nice loose knot initially.
- Bring the wide side around the back and then over the front in a straight line. We want it to evenly cross the slim (back) end.
- Now carry the wide side up (the back) and through the loop around your neck. At this stage, you should still have your thumb in the same place that you started.
- Let the wide side hang down the front, covering the slim side (which will be sitting at the back). This is the time to check that there are no folds or twists on the front (wide) side.
- Here's the exciting bit...remove your thumb (that was keeping it all secure). Thread the wide end through the loose knot you've created. Ta-Da! You'll now have a classic cravat shape.
- At this stage, it's down to whether you'd like a wide knot or a slim knot on your scrunchie wedding cravat.
- To tighten the knot, gently pull the left and right side of the wide - just below your knot.
- When you've achieved your desired knot, simply take a hold of the slim (back) end and gently slide the knot upwards. It should sit neatly beneath your upturned collar. You can still tighten it up at this point if needs be. Because the cravat is looser than a standard tie, you'll be able to manipulate the shape until you get it just right!